MacOS VM
Motivation
I wanted to set up a hackintosh VM for it’s iCloud sync abilities. I had been using my Windows 11 desktop PC for this and the iCloud program was causing BSODs. My alternative plan, or maybe I something I will do as well, is to write a program using icloud-photos-downloader. Once I download the photos I want to use ImageMagic to convert the HEIC ones and upload them to unRAID so they can be seen on Plex. I’m also open to a alternative to Plex for Photos since it’s pretty bad.
Installing the OS
At first I tried to follow these steps using my own .img seeing how I have a mac mini. Unfortunately, it refused to boot after the OS install was complete.
I pivoted to these sketchier steps but went with Ventura instead of Sonoma.
I immediately hit an issue where it refused to boot the ISO. I was getting an error like proxmox failed to load Boot0001 access denied. Disabling secure boot fixed me up.
- Mash escape while booting the VM
- In the UEFI Bios menu go to
Device Manager->Secure Boot Configuration - Un-tick the x on
Attempt Secure Bootso it’s disabled - F10 to Save + Y to confirm
- ESC + ESC -> Down to
Resetand hit Enter
After this I was able to get into the steps of the second tutorial. Note that you can use the mouse most of the time but the initial menu is keyboard only (even though a mouse pointer shows up).
And it worked!
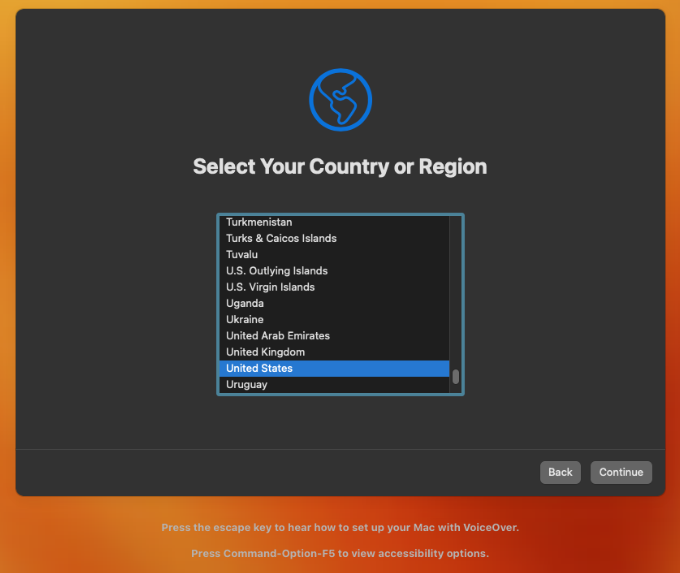
Don’t use the scroll wheel when selecting the language, use the arrow keys once close…
The rest is clicking either “Not Now” or “Setup Later” when available since we need to do a bit more work to link this to our iCloud ID.
Once in I get this error but it walks me through some ways to identify the keyboard.
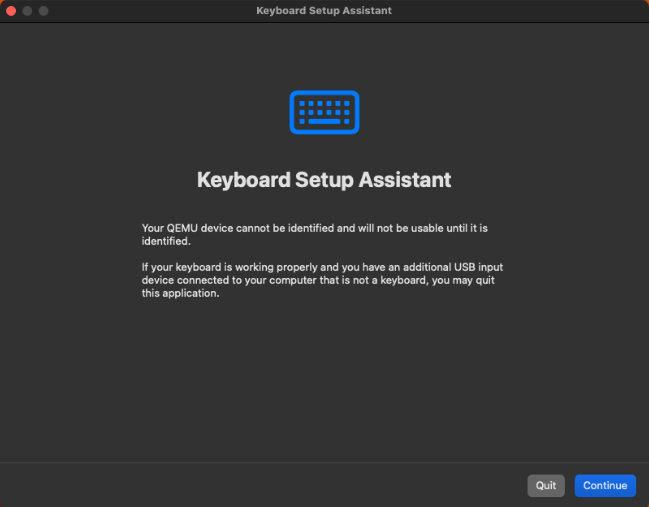
It seemed to work but I’ll totally need to rebind some keys. Looks like these settings will let me CTRL+C CTRL+V like I’m use to. You will also want to go to Preferences -> Mouse -> Natural Scrolling and disable it.
Anyway, Ventura is looking good:
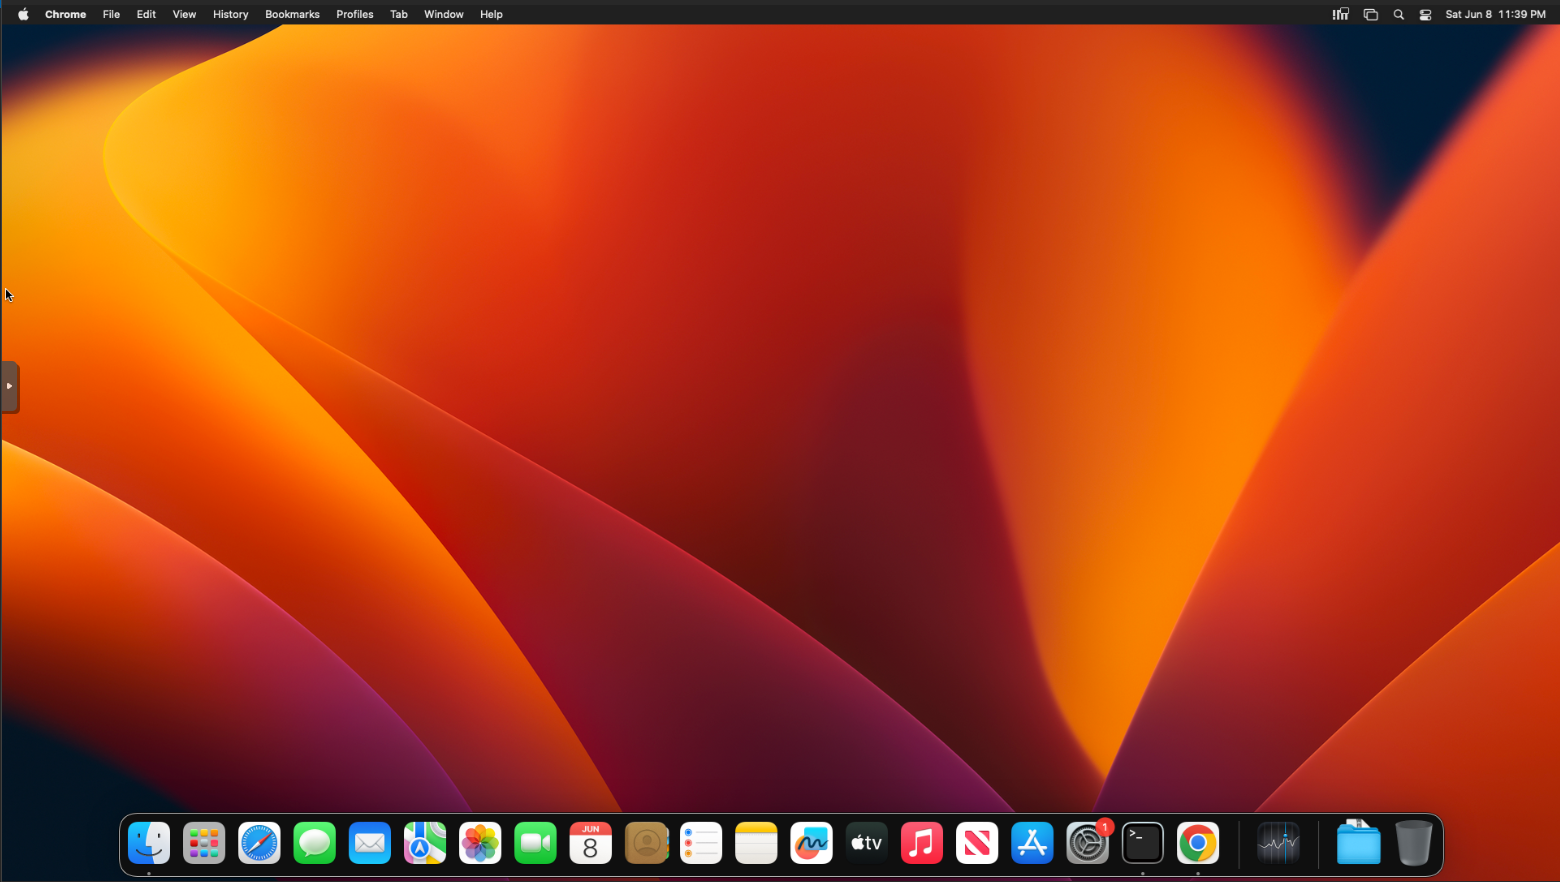
NOTE: I installed ventura here because that was the same version as the image I pulled from the mac mini. I may make another for Sonoma in the future.
Installing nomachine
Before I go any further I want a better way to access the VM. There are many but I have ended up using nomachine for most VMs since it’s easy to install and then they instantly show up in the client. Spice is nice too but it’s a bit more of a hassle.
Safari wasn’t working well so I installed chrome first. Then I went to nomachine.com and clicked the huge “Download now” button. The installer had a UI and was straightforward. Make sure to enable the permissions it prompts for.
Back on my desktop I can now select the mac VM with it’s default name that I should change later…

Fixing Things Up
We need a files first:
When I ran git clone on the http link a nice window for installing gitpopped up since the macos doesn’t come with it. Then I ran the git clone command again to pull the repo.
Now we need to run the first one:
cd ~/Downloads/MountEFI
chmod +x MountEFI.command
./MountEFI.command
This resulted in a popup:
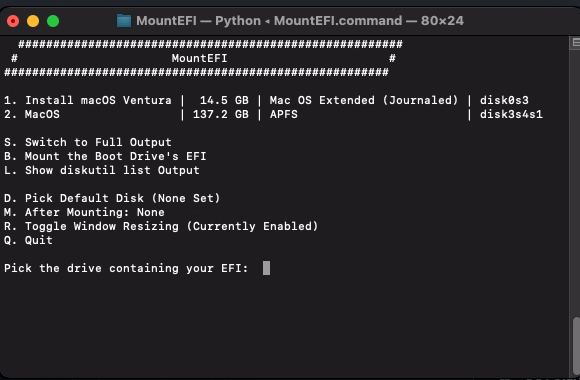
Following the guide I selected the MacOS drive and entered my password. It then mounted an empty drive which was not what the guide said but I ran with it and copied the EFI folder from OpenCoreEFIFolder-v21.zip in. Then I shut the VM down.
Finally I removed OpenCore ISO from the hardware and was able to boot back in without it!
Sonoma
Since Ventura 13.6.3 was smooth sailing I figured I’d try a Sonoma 14.1.1 from the pre build image here just so I’d be on the latest batch of updates.
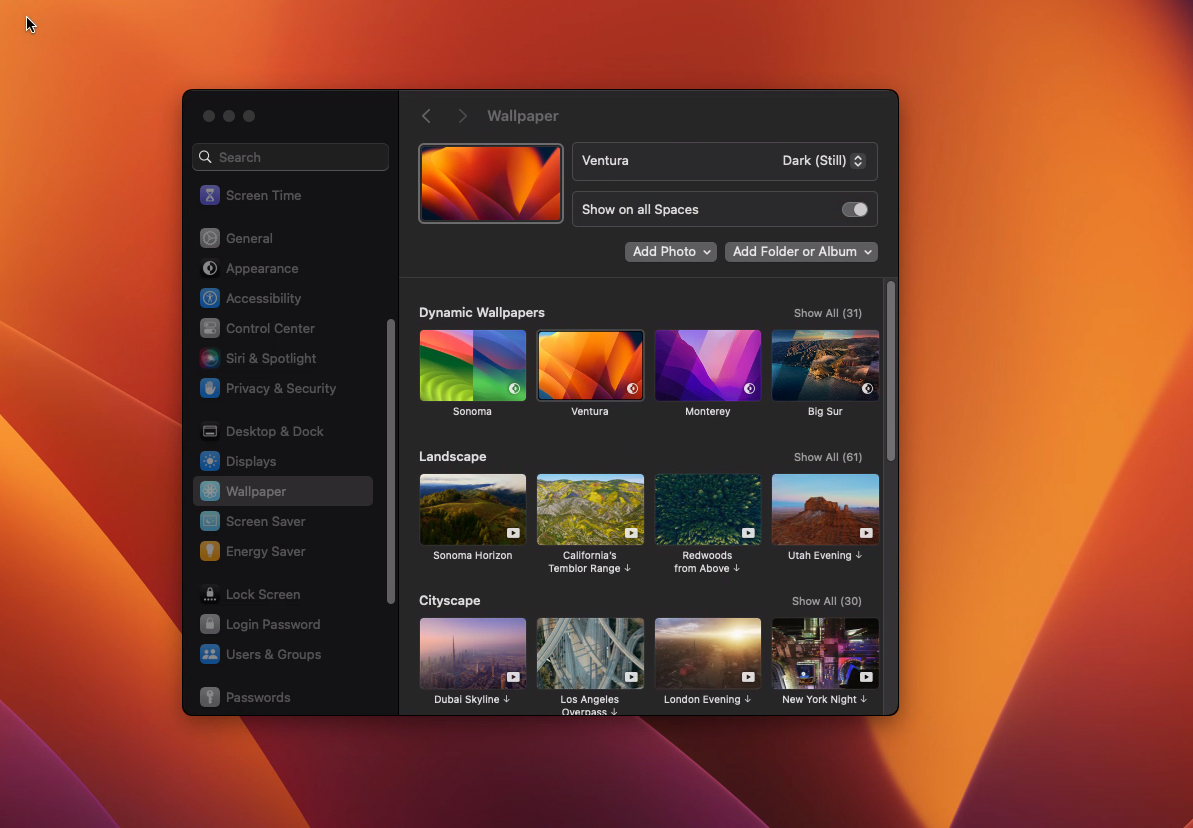
Everything went well except there is no desktop background this time…
I figured this was because of the “dynamic wallpapers” but ironically ventura’s worked. Not sure what’s dynamic about it though as it’s a pretty static image right now.
Getting to iCloud
Well this guide seems a bit intense but I’ll go for it.
I ended up using the first option to generate a bunch of serials. The first one it spit out worked but I got 10 like it said. I used a different one than this example shows FYI but I don’t use these numbers either or they could collide on Mac’s end if two people did.
#######################################################
 #              iMacPro1,1 SMBIOS Info                 #
#######################################################

Type:         iMacPro1,1
Serial:       C02XH0ADHX87
Board Serial: C02840600QXJG368C
SmUUID:       D0A3C345-2CE1-4162-9FA3-17BDFED14B06
Apple ROM:    B844D9083DC5
The guide also says to come up with a mac address using the first three sections from a real mac. My son uses a mac mini as his daily driver so I just pinched them from there. Again, these are fake values, so don’t use them.
You need to take the mac, remove the colons, and make it all lowercase for the hackintosh config:
Real MAC: 6a:5h:zq:ep:99:e1
HackinMAC: 6a:5h:zq:00:Th:43
ROM: 6a5hzq00Th43
This gives us all the information we need we configure EFI for the spoofed settings. The names are a bit different than what we collected so here is how they map:
| SBIOS Name | Config Name | Value |
| Board Serial | MLB | C02840600QXJG368C |
| ROM | ROM | 6a5hzq00Th43 |
| Serial | SystemSerialNumber | 5c1bf400th43 |
| SmUUID | SystemUUID | D0A3C345-2CE1-4162-9FA3-17BDFED14B06 |
To access OpenCore/EFI’s config you need to mount the disk. Don’t worry about making it re-mount on boot, this thing moves around so the command might not work after rebooting.
To find the directory to mount run:
diskutil list
Here you can see mine is at disk1s1:
thaynes@mac02 Downloads % diskutil list
/dev/disk0 (internal, physical):
   #:                       TYPE NAME                    SIZE       IDENTIFIER
   0:     Apple_partition_scheme                        *16.8 GB    disk0
   1:        Apple_partition_map                         32.3 KB    disk0s1
   2:                  Apple_HFS Install macOS Sonoma    16.6 GB    disk0s3

/dev/disk1 (internal, physical):
   #:                       TYPE NAME                    SIZE       IDENTIFIER
   0:      GUID_partition_scheme                        *274.9 GB   disk1
   1:                        EFI EFI                     209.7 MB   disk1s1
   2:                 Apple_APFS Container disk2         274.7 GB   disk1s2

/dev/disk2 (synthesized):
   #:                       TYPE NAME                    SIZE       IDENTIFIER
   0:      APFS Container Scheme -                      +274.7 GB   disk2
                                 Physical Store disk1s2
   1:                APFS Volume MacOS - Data            111.4 GB   disk2s1
   2:                APFS Volume Preboot                 4.0 GB     disk2s2
   3:                APFS Volume Recovery                1.2 GB     disk2s3
   4:                APFS Volume MacOS                   14.5 GB    disk2s4
   5:              APFS Snapshot com.apple.os.update-... 14.5 GB    disk2s4s1
   6:                APFS Volume VM                      1.1 MB     disk2s6
Then mount it:
sudo mkdir /Volumes/EFI
sudo mount -t msdos /dev/disk1s1 /Volumes/EFI
Now we need to pug in the values to /Volumes/EFI/OC/config.plist. The file is large so I installed VSCode and searched down for MLB to find the section. Here are values mapping to the example above:
    <key>MLB</key>
    <string>C02840600QXJG368C</string>
    <key>ROM</key>
    <data>6a5hzq00Th43</data>
    <key>SpoofVendor</key>
    <true/>
    <key>SystemProductName</key>
    <string>iMacPro1,1</string>
    <key>SystemSerialNumber</key>
    <string>5c1bf400th43</string>
    <key>SystemUUID</key>
    <string>D0A3C345-2CE1-4162-9FA3-17BDFED14B06</string>
Thi seemed like something that would need a reboot so I ended up doing so. I didn’t check this before, so it may have updated without one, but System Settings -> About now shows the new serial number. Once I was this I went ahead and logged into iCloud and was able to download all my photos which was the goal. I could also use Messages, the app store, and everything else that needed iCloud!
NOTE: I’m not sure what would have happened if I didn’t follow these steps. I don’t get the same result for the coverage check (just says “Please enter a valid serial number.”) as the OpenCore doc does but everything is working.
HA & Migrating this VM
The source of all this hackintoshing says you can’t migrate the VM if you have +invtsc in the big line of args so I am going to put that to the test on my Ventura instance (since I didn’t invest all that time setting up iCloud). If it works I’ll try my Sonoma instance after taking a backup.
Before I do I wanted to know what invtsc was. Not much explanation was given but the same acronym was used in an above section about having a “working TSC”. I don’t even know if I do, so this might not matter, but I found TSC stood for “Time Stamp Counter”. Wikipedia doesn’t make it sound relevant to the hardware I am using so I might be worried about nothing.
NOTE It turns out with
+invtscyou can only migrate the VM when it’s shutdown. This is fine for now since I don’t need HA.
Self Inflicted Problem 1
On my first attempt I realized Proxmox was trying to use my Thunderbolt ring network (TODO link setup guide) to migrate from this node but I had only set that up on nodes 1-3. I intentionally moved away from it to the VLAN 10Gb network to add notes 4 and 5.
This fix was easy, just needed a config change:
Datacenter -> Options -> Migration Settings -> Edit -> Network and select a network everything shares.
Self Inflicted Problem 2
The second problem was that I configured the 2.5Gb ports to use the same subnet.
could not get migration ip: multiple, different, IP address configured for network '192.168.0.34/24'
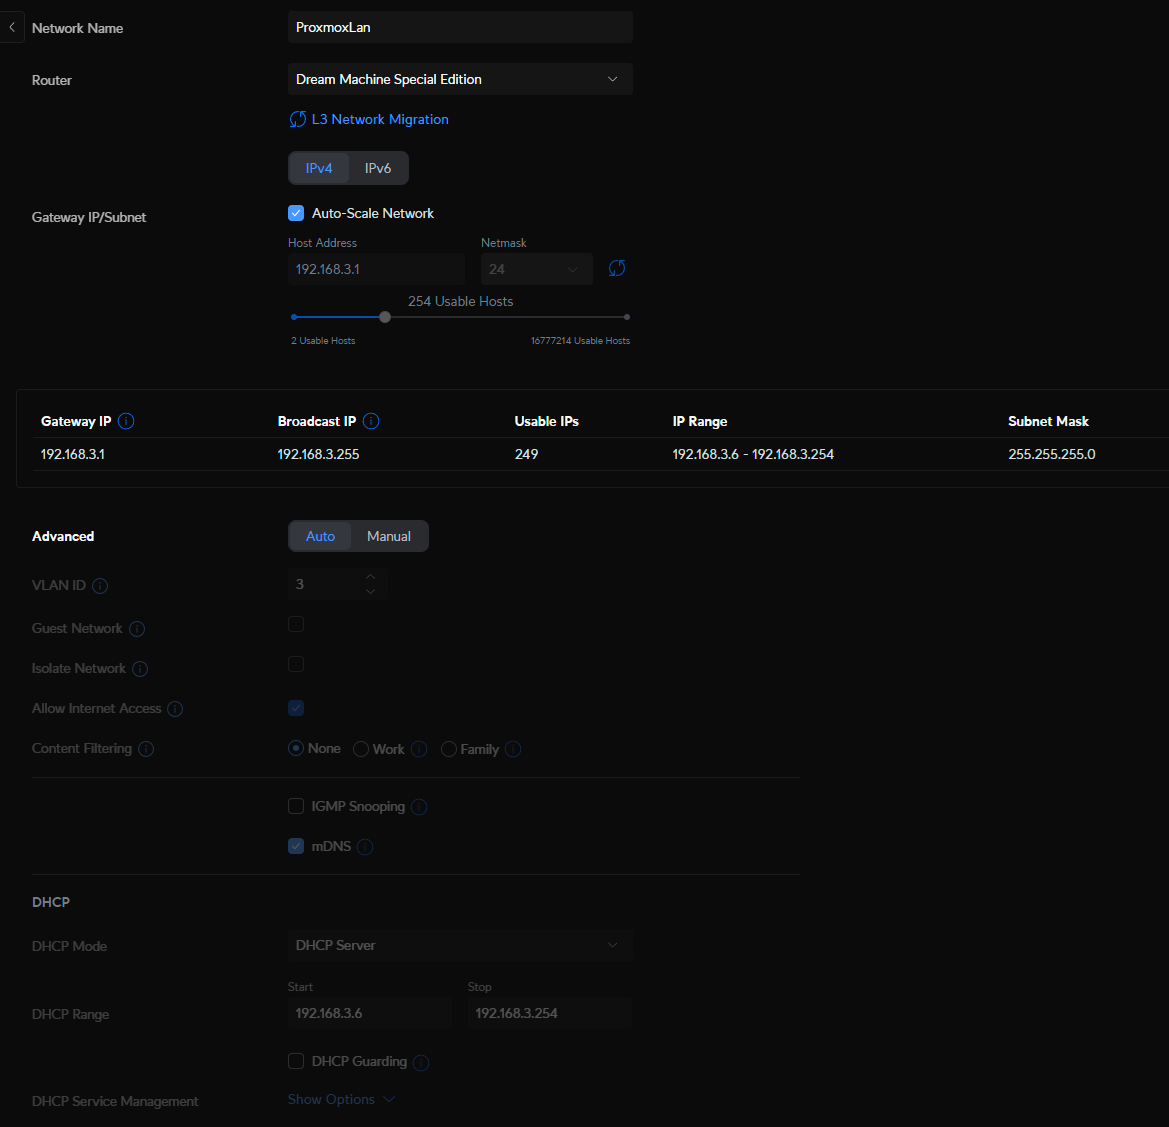
I will need to either delete the bridges or make a VLAN with new ips. My original intent was to have a VLAN but I also wanted to play around with bonding the 2 2.5Gb ports together with LAG but ran out of ports. To keep my options open I went with making a VLAN.
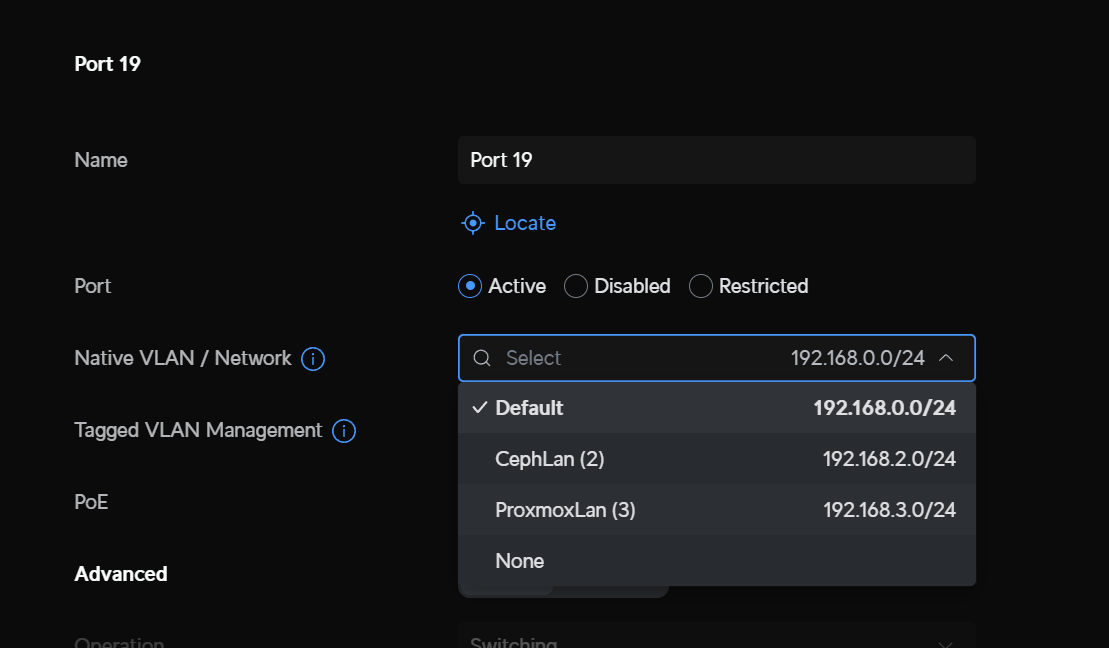
I created this in my Unifi management portal and kept all the default settings:
Then I found the devices under Ports -> Their Switch
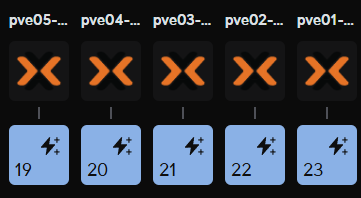
It was then easy enough to switch the ports over to the new VLAN:
Then I had to reconfigure all the IPs for the VLAN subnet:
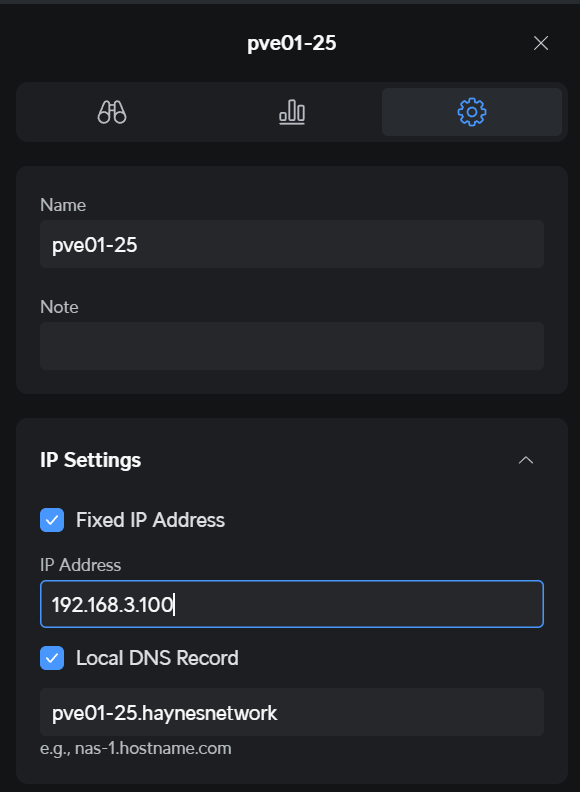
As I changed them some disappeared from the port as if it was plugged into nothing. I hope this was because the bridges needed to be reconfigured which was up next!
For each node you just need to go to System -> Network and select the enp90s0 bridge set up earlier and reconfigure the IP. Make sure to hit “apply configuration”.
Was That Everything?
Yes! The eagle has landed:

Automatic Reboot
Day 2 of owning a hackintosh I realized PBA is shutting down the VM to back it up. The hackintosh just sits at a screen waiting for you to press enter by default so I will need to consult nick sherlock again on how to fix this up!
This is a problem for both my VMs but Ventura is worst since it blocks GPU passthrough (below).
Find EFI:
diskutil list
Mount it:
sudo mkdir /Volumes/EFI
sudo mount -t msdos /dev/disk1s1 /Volumes/EFI
Now edit /Volumes/EFI/OC/config.plist:
Recommend using VSCode for this one since it’s huge.
Set a value for `/Misc/Boot/Timeout/ in seconds for how long it waits for you to make a selection:

and stop trying to use hotkeys until that is sorted!
GPU
The UI is a bit laggy right now and I’m at 8 cores 20Gb of RAM so I don’t think any beefing will help other than either a GPU or iGPU. Since I have two macOS VMs right now I figured I could try one of each and see if it’s really necessary to have a dedicated GPU.
iGPU
Not happening
First I need to expose it to Proxmox using this guide.
Then set it up for the vm using something like this guide.
But, alas, it wasn’t worth the kernal downgrade. See igpu passthrough for the nightmare that is vGPUs and why it’s likely I will bother with one on an Iris Xe.
AMD RX 570
After I squared away automatic reboot I simply mapped the PCIE devices and it kinda seemed to show up in Ventura:
Display:

  Type:	GPU
  Bus:	PCIe
  PCIe Lane Width:	x8
  Vendor:	AMD (0x1002)
  Device ID:	0x67df
  Revision ID:	0x00ef
The device ID matched the hosts:
root@pve04:~# lspci -n -s 01:00
01:00.0 0300: 1002:67df (rev ef)
01:00.1 0403: 1002:aaf0
This guide says I will need to use Lilu and WhateverGreen for it to work properly and even lists some kext files I will need to go with those.
Add the kexts to /EFI/OC/Kexts - note they are already there!
Trying Some Random Config
args: -device isa-applesmc,osk=”ourhardworkbythesewordsguardedpleasedontsteal(c)AppleComputerInc” -smbios type=2 -device usb-kbd,bus=ehci.0,port=2 -global nec-usb-xhci.msi=off -global ICH9-LPC.acpi-pci-hotplug-with-bridge-support=off -cpu host,vendor=GenuineIntel,+invtsc,+hypervisor,+kvm_pv_unhalt,+kvm_pv_eoi,kvm=off,vmware-cpuid-freq=on balloon: 0 bios: ovmf boot: order=virtio0;net0 cores: 8 cpu: host,hidden=1,flags=+pcid efidisk0: vm-disks:vm-112-disk-0,efitype=4m,pre-enrolled-keys=1,size=528K hostpci0: 0000:01:00,pcie=1 ide0: ISO-Templates:iso/macOS-Sonoma-14.1.1.iso,cache=unsafe,size=16000M machine: q35 memory: 20480 meta: creation-qemu=8.1.5,ctime=1717904063 name: mac02 net0: vmxnet3=BC:24:11:A0:69:A4,bridge=vmbr0,firewall=1 numa: 0 ostype: other scsihw: virtio-scsi-pci smbios1: uuid=931fc13d-1caa-45e3-b042-472a907eb4fc sockets: 1 vga: none virtio0: vm-disks:vm-112-disk-1,cache=unsafe,discard=on,iothread=1,size=256G vmgenid: 89085a0f-8b1a-4de2-976e-edd86c9b0d09
args: -device isa-applesmc,osk=”ourhardworkbythesewordsguardedpleasedontsteal(c)AppleComputerInc” -smbios type=2 -device usb-kbd,bus=ehci.0,port=2 -global nec-usb-xhci.msi=off -global ICH9-LPC.acpi-pci-hotplug-with-bridge-support=off -cpu Haswell-noTSX,vendor=GenuineIntel,+invtsc,+hypervisor,kvm=on,vmware-cpuid-freq=on
A Tutorial That Never Came
Found this tutorial that looked intriguing and highly anticipated. However, the dude is still working on it after many months!
Maybe this has some answers?